
How to Sell on Amazon Step by Step From Scratch
July 25, 2026
To sell on Amazon step by step from scratch you need five things in order: create your seller account in Amazon Seller Central, register your tax and banking details, choose your fulfillment method (FBA or ship-it-yourself), publish your first listing with strong photos and a calculated price, and then run the selling machine by watching stock, reviews, and pricing. It sounds like a lot, but each step is concrete and most of them you set up only once to get going.
The part almost nobody tells you is that selling doesn’t end when you publish — that’s where it begins. From your very first order you’ll be watching several numbers at once: what you actually kept after fees, how many days of inventory you have left, whether your price still wins the buy box. Those numbers live on different screens. The seller who starts “by hand,” with screenshots and a spreadsheet, drowns fast.
So this walkthrough doesn’t only cover how to list — it covers how to set up, from day one, a way to see your whole operation in real time without stitching data together by hand. Amazon is easy to start and hard to sustain; the difference is in how you measure.
step 1: create your seller account
It all starts in Amazon Seller Central, the dashboard where you’ll manage products, prices, inventory, and orders. You sign up and choose between two plans: the Individual plan, with no monthly fee but a per-unit charge on each sale, and the Professional plan, with a fixed monthly fee that pays for itself once you pass roughly 40 sales a month or want advertising and advanced reports.
You’ll need an email, a phone number, and a decision about the legal entity you sell under — sole proprietor or company. That choice matters, because your tax obligations and how Amazon reports you both depend on it. If you’re just starting and aren’t sure which to pick, this is exactly the kind of decision worth checking with an accountant before you register the account, not after.
step 2: tax, banking, and identity
Amazon asks you to validate your identity and tax details before letting you get paid. In practice that means: your tax ID, a bank account in your name (or your company’s) to receive deposits, and an identity verification with official documents. Amazon pays out your sales roughly every fourteen days, already net of its fees.
Here’s the first blind spot for new sellers: what Amazon deposits is not your profit. It’s your sale minus the referral fee, minus fulfillment fees, minus advertising. To know what you truly earned you also have to subtract your product cost, your cost to ship into the warehouse, and your taxes. That final number — what actually stays with you — is the one Seller Central rarely shows, and the one that decides whether the business works at all.
Glossary: real net margin, with everything deducted →step 3: choose your fulfillment (FBA or ship-it-yourself)
You have two ways to get the product to the buyer. With FBA (Fulfillment by Amazon) you send your inventory to an Amazon fulfillment center and they store, pack, ship, and handle returns; in exchange they charge storage and per-order fees, and your products get the Prime badge, which lifts conversion dramatically. With FBM (Fulfillment by Merchant) you store and ship each order yourself, from your own warehouse or a 3PL.
For most people starting out, FBA is the fastest route to serious sales, because the Prime badge and the buy box do a lot of the work. But FBA isn’t free: every fee Amazon charges eats a slice of your margin, and if your product is bulky or low-priced, those fees can leave you near zero. FBA vs FBM isn’t a matter of faith — it’s arithmetic. It comes down to the real net margin each option leaves you, product by product.
step 4: publish your first product
A well-built listing is your salesperson around the clock. You need a clear title with the words people actually search, five to seven high-resolution photos on a white background, bullet points that answer the buyer’s doubts, and an honest description. If the product already exists in Amazon’s catalog, you attach to that page; if it’s yours and new, you create it from scratch with its barcode (GTIN/EAN).
And the price: don’t eyeball it. Start from your cost, add all the Amazon fees from step 3, decide the margin you want, and that’s your list price. If you also sell the same product on MercadoLibre — very common in Mexico — you’ll quickly find that a “matching” price across channels is a trap, because each channel’s fees are different. The right price is calculated per channel, not copied. We go deep on moving prices without giving away margin in the automatic price calendar.
step 5: win the buy box and protect your stock
When several sellers offer the same product, only one gets the “Add to Cart” button at any given moment: that’s the buy box, and you win it with a blend of competitive price, good reputation, availability, and — usually — Prime fulfillment. Winning it isn’t about the lowest price; it’s about the best balance. And reputation is built with on-time shipping, fast replies, and reviews, which take patience at the start.
The other front is inventory. Running out of stock right as you’re ramping up is one of the worst mistakes: you lose ranking, you lose the buy box, and if you had ads running you’re paying for clicks to send traffic to something nobody can buy. You need to know, every day, how many days of inventory you have left per product and when to reorder — before the number turns red, not once it’s already hit zero.
Glossary: buy box, how the buy box is won →when Amazon stops being a single channel
This is where the “step by step” collides with reality. Almost nobody stays on one channel: today you sell on Amazon, tomorrow you open MercadoLibre, then a Shopify store, and your physical inventory is one pool split across warehouses. Suddenly you have three or four dashboards open, each with its own sales figure, its own stock, its own fees, and to know how you really did you’re copying numbers into a spreadsheet every night.
That manual work doesn’t just tire you out — it misleads you. When you stitch data by hand it always arrives late and almost always carries errors: a canceled sale left in the count, a month that bled into another, a channel left out entirely. And you can’t make good pricing or restock decisions on data that’s late and full of holes. Selling on Amazon step by step is only the first chapter; the real challenge is seeing Amazon, MercadoLibre, and your other channels as one operation, with the same real product behind many listings.
Glossary: unified catalog, one real product, many listings →from a manual start to real-time control
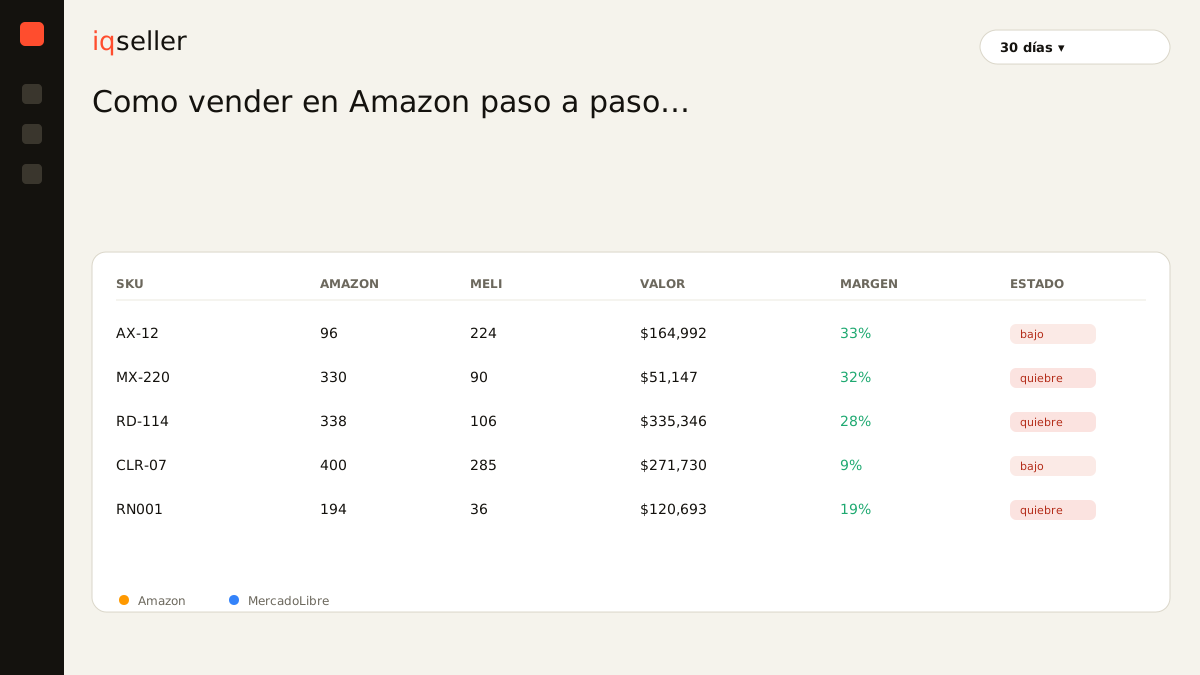
The way to keep from drowning is to draw your inventory, your sales, and your margins from a single source that updates itself, instead of rebuilding them every night. When your channels are connected in real time, you stop asking “how much did I sell?” and start asking “what do I do about what I sold?”: which product to restock, which price to raise, which channel is pulling and which isn’t.
That jump — from spreadsheet uncertainty to live control — is what turns a seller who just published their first product into one who operates with a clear head. And it applies well beyond Amazon: the same logic of seeing everything together shows up when you explore new categories, as when we looked at selling cars on MercadoLibre and how the section works. Start simple, publish your first product today — but from day one, measure like you already have ten.